 Boring Heads / 280.XXX
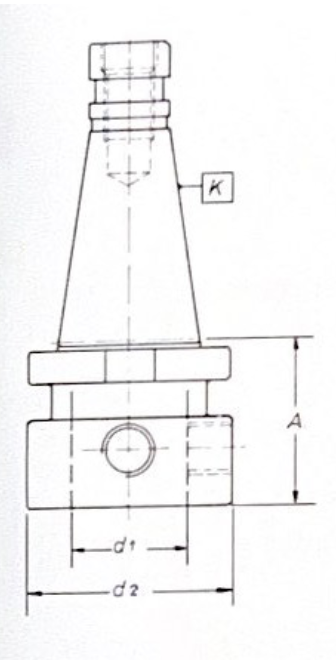
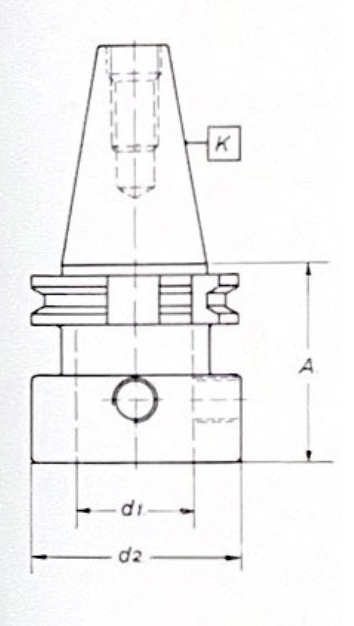
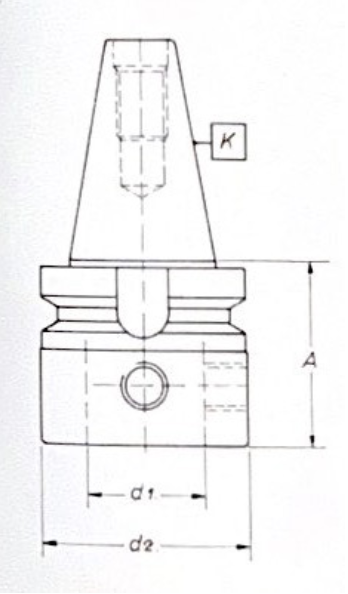
•Machining capacity from 0 to 80 mm
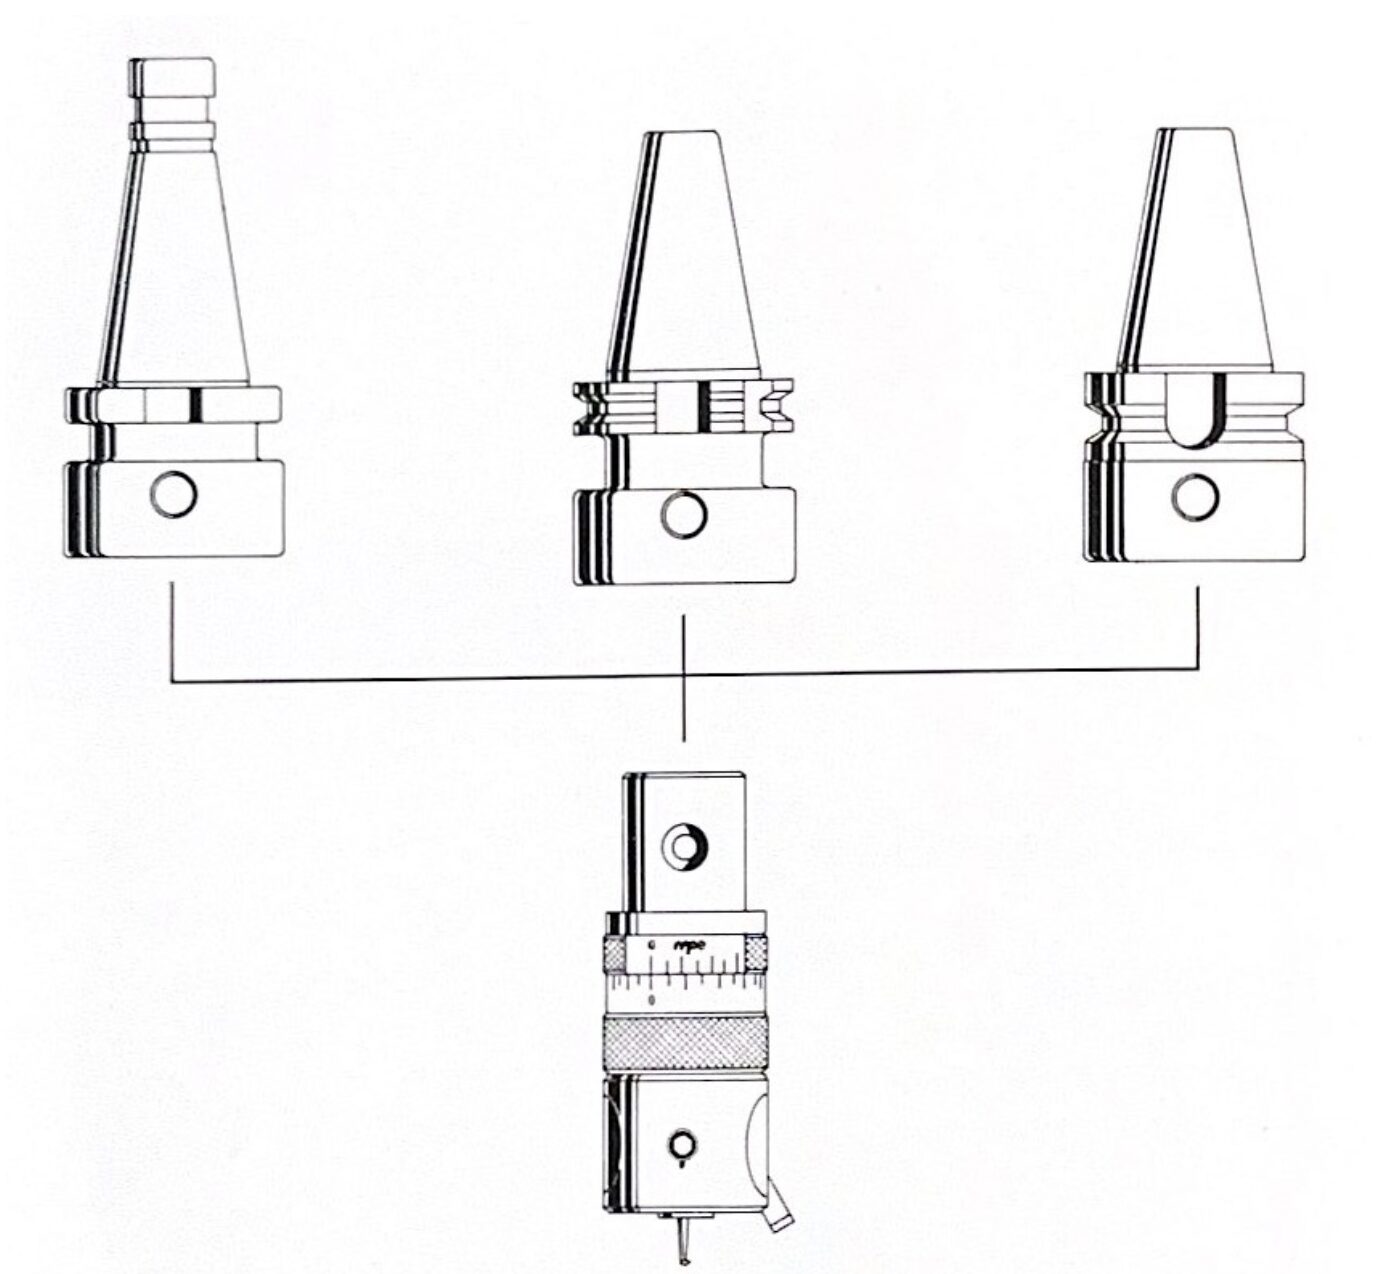
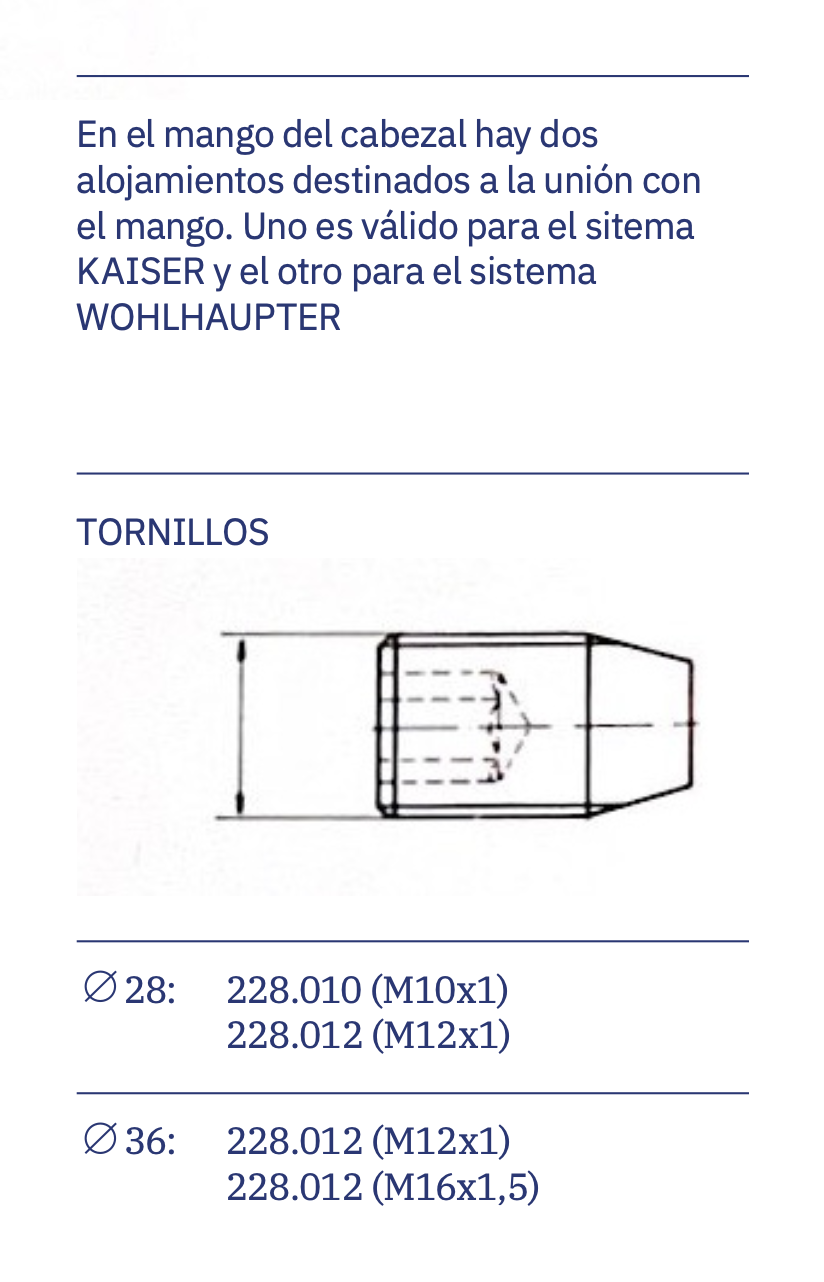
•Interchangeable coupling shank
•Head compatible with KAISER and WOHLHAUPTER couplings
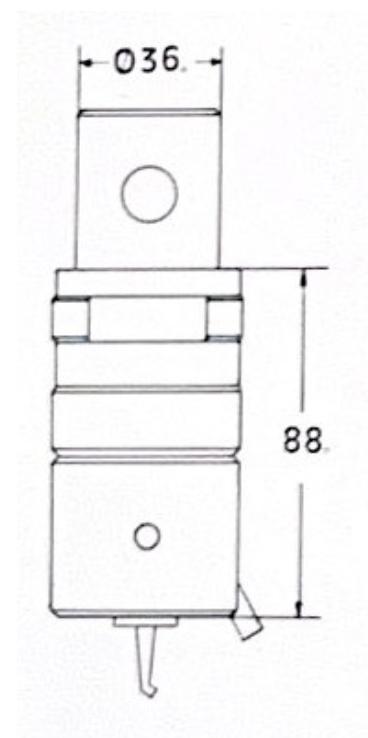
•Manufactured with Ø 36 mm for ISO taper 40-50 (DIN 2080)
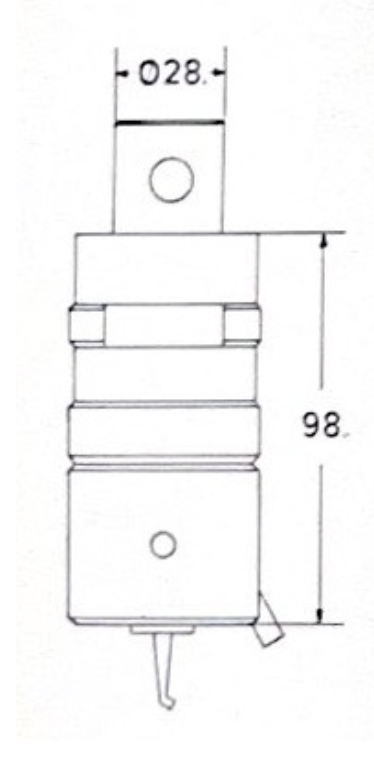
•Manufactured with Ø 28 mm for ISO taper 40 (DIN 2080)
•Manufactured with Ø 36 mm for ISO taper 40-45-50 (DIN 69871/1)
•Manufactured with Ø 28 mm for ISO taper 40 (DIN 69871/1)
•Manufactured with Ø 36 mm for ISO taper 40-45-50 (DIN MAS 403-BT)
•Manufactured with Ø 28 mm for ISO taper 40 (DIN MAS 403-BT)
•Vernier reading precision of 5 µm in Ø
•One full turn of the vernier equals 2 mm in Ø
•One division equals 50 µm in Ø
•Travel: 10 mm
•Delivered in a wooden box with two hex keys, two collets, and two boring bars
Designed for precise machining of internal diameters from 0 to 80 mm. The carriage includes two tool seats: one central seat (H1 tool) for boring diameters up to 50 mm and another lateral seat (H2 tool) for diameters from 50 to 80 mm.
This head must always rotate to the right (clockwise) to advance in the indicated direction (figure no. 9).
The H1 and H2 tools are aligned between their cutting edge (no. 7) and the orientation mark (no. 8). The H1 tools are locked with a fixing screw (no. 1) and the H2 tools in the same way (no. 2).
For micrometric adjustment of the boring tool, it is recommended to:
The screw (no. 1) should tighten the boring bars and collets exactly 90° from their full cut.
Refer to our catalog for more details on the head.
