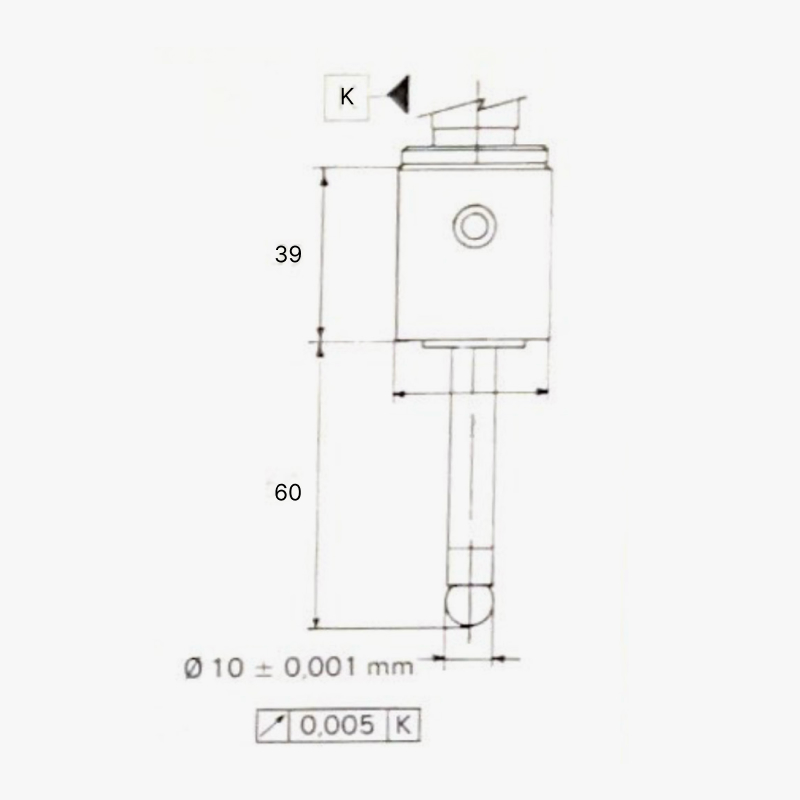
 Fast Electronic Centering / B300
Used to adjust the reference faces.
It facilitates the measurement of internal and external diameters and their centre.
It also allows the measurement of internal and external distances, as well as heights and depths.
It allows the centre of the machine spindles in relation to the piece to be machined by means of different positions on the X and Y axes.
This three-dimensional device ensures perfect and rapid location of the reference points.
The centring device detects, without turning and by means of a red LED, the exact point of contact of the probe with the piece (for conductive materials).
With this probe we avoid possible breakage, since the ball at its tip can move more than 5 mm without suffering damage, recovering its initial precision with absolute guarantee.
